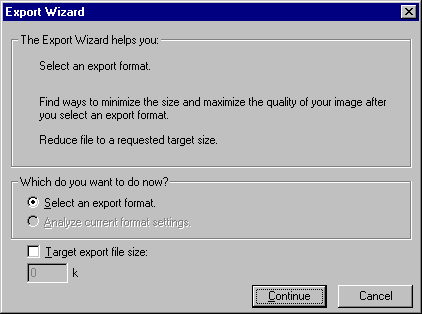
Use the Export Wizard to go step by step through the export process. Answer questions about the file destination and intended use, and the Export Wizard suggests file type and optimization settings.
If you prefer to optimize to a maximum file size, the Export Wizard optimizes the exported file to fit within the size constraint you set in the Target export file size option.

To export a graphic using the Export Wizard:
| 1 | Choose File > Export Wizard. |
| 2 | Answer the questions on each panel, clicking Continue to go to the next panel. |
| The Analysis Results screen appears with recommendations about file formats. | |
| Note: Choose Target Export File Size in the first panel to optimize to a maximum file size. | |
| 3 | Click Exit to view the results. |
| The 2-Up Preview window shows two recommended export options. | |
| 4 | Click the preview area that contains the file format you want to use. |
| 5 | Change export settings, if needed. |
| 6 | Click Export. |
| 7 | In the Export dialog box, type a name for the file, choose slicing options and HTML style, choose the destination, and click Save (Windows) or Export (Macintosh). |